
After a pretty long hiatus, my Sewing Saturday posts are back! This week, I'm starting out with a super simple and ironically no-sew project - how to craft your own pin-on western style bow tie. Western bow ties, or western string ties, are aesthetically different from a standard bow tie as they're generally thinner ties with longer ends - and they add a touch of interest to a traditional button-up and cardigan ensemble.
What you need for this project.. 30-35 inches of ribbon, hot glue gun, and pin back (or a small hair barrette to attach underneath the pin back if you'd like to wear this in your hair as well). Traditionally, western bow ties are made with thin satin ribbon in dark colors - I opted for this pale gold sequin ribbon (nearly one inch wide), found at Joann Fabrics.

First step - cut your ribbon pieces. You will need three pieces - one 15 inch piece for the bow tails, one 13-15 inch piece for the bow face (loops), and one 2 inch piece for the upper middle part of the bow that connects the two together. I like to piece bows together rather than tying them BTW.

Next, make the bow face by glueing the two ends together, forming a loop with wrong sides in. My finished bow face is six inches long. I overlapped the loop inside by a few inches to make the face more sturdy (so it doesn't flop around when worn). Then, form your bow tails by glueing together at center to make an upside-down V shape. Make sure the tails are even (six-seven inches on each end).


Fold edges of tails in and glue shut to finish. Then, take the top point of the tails and glue inside the face to the bottom, wrong sides together (be sure to not glue the top of the loop to the top of the tail point, just the bottoms).


Next step is adding the center of the bow. With wrong sides together and facing upwards, glue the edge of the two inch strip of ribbon to the bottom middle of the face, where the tails extend. Once glued inside, fold the center strip over the face of the bow and connect to the back. Fold edge inward and glue in place. Then, glue your pin back (or barrette) onto the back of the bow securely.


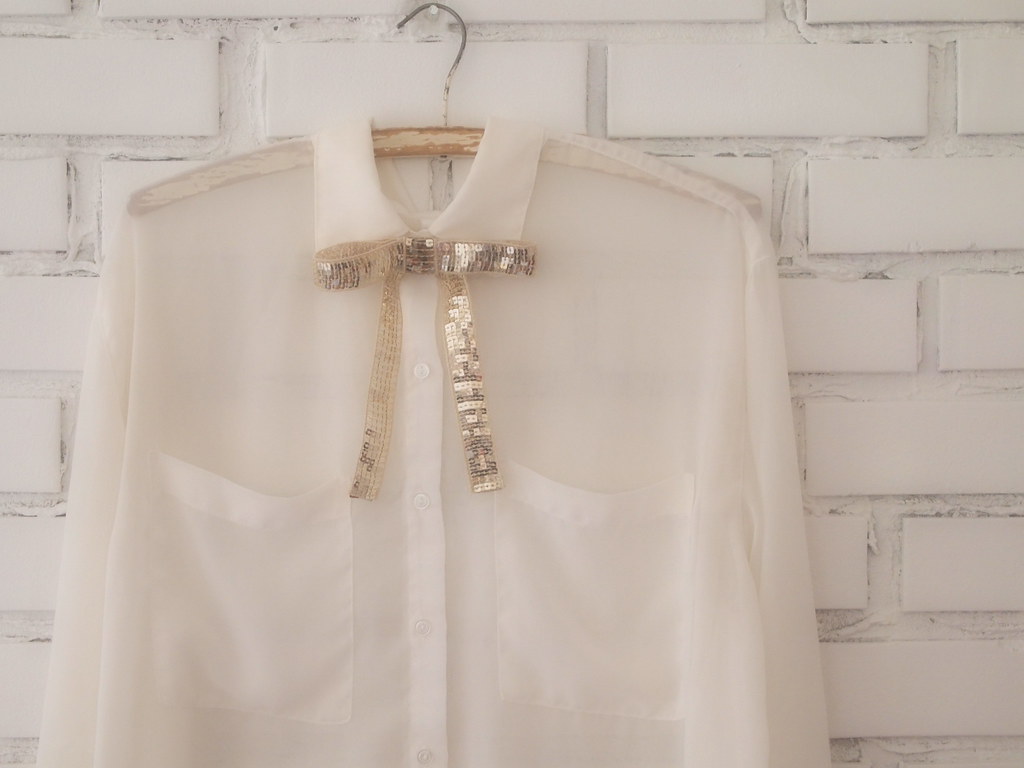
And you have a western pin-on tie! Quick and easy.


Next week, I plan on working on one of these projects - a simple cotton blouse with pocket and collar, an embroidered sweater, or a jumper with a-line skirt and matching fabric covered buttons. What would you like to see next time?

0 comments:
Post a Comment