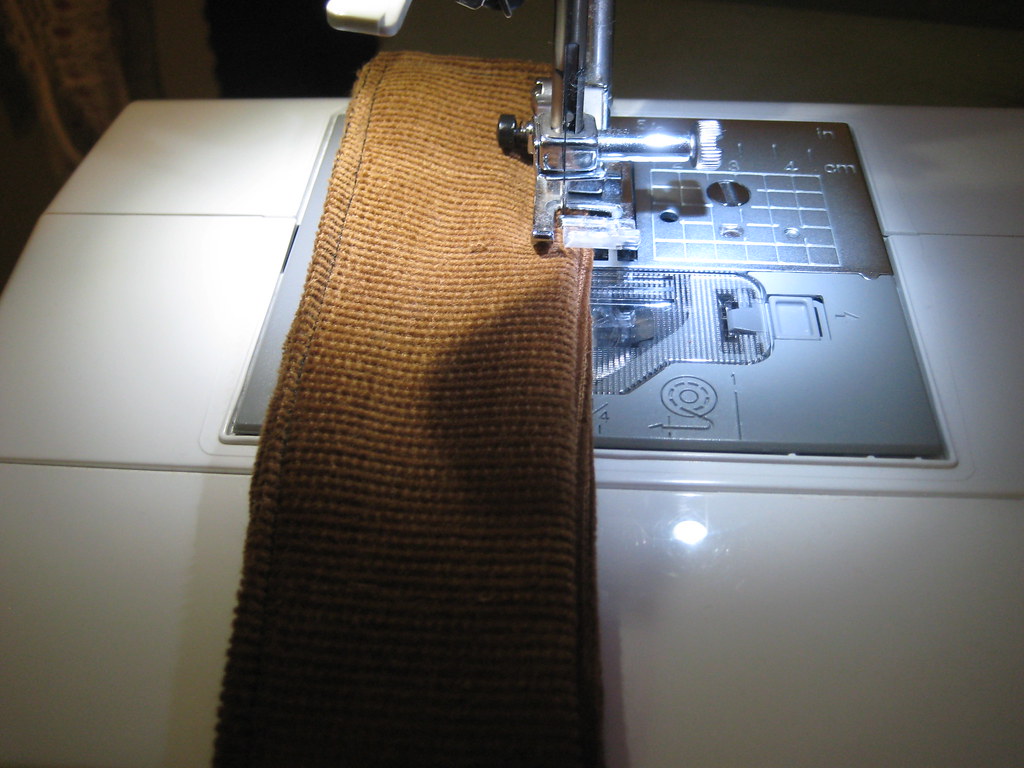
Sewing Saturday on Tuesday! Yeah! Well, today I finished up the corduroy onesie with detachable bib and suspenders.
I began where I left off last week.. by topstitching along the ruffled bib, about 1/4 inch from the edges.
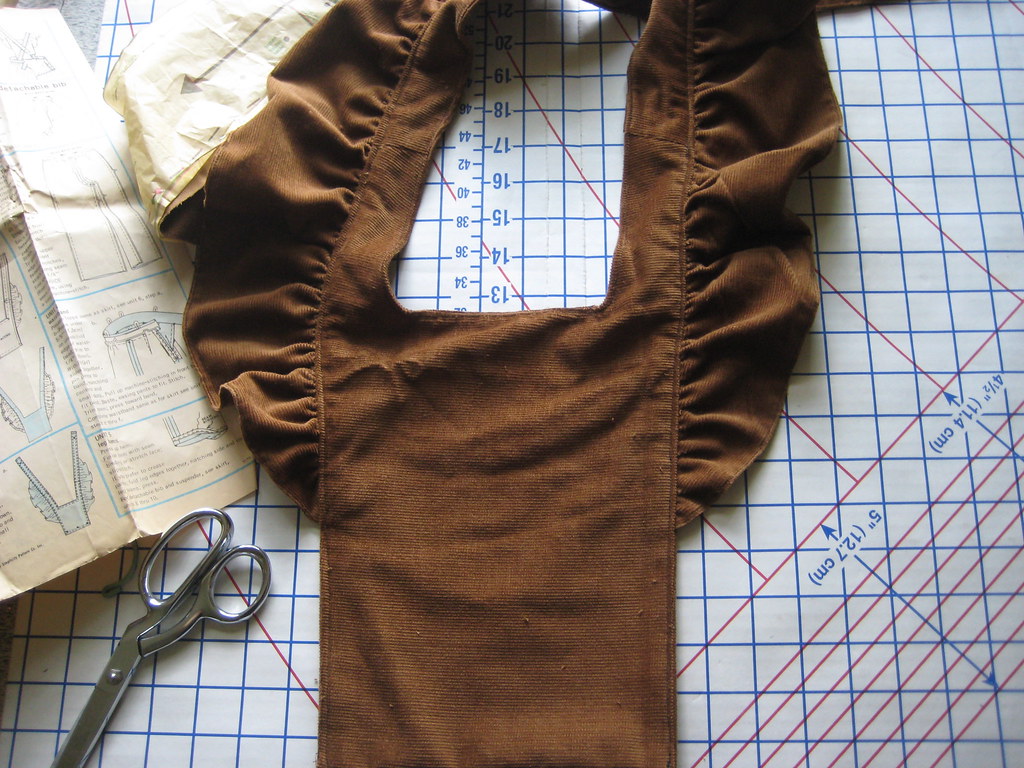
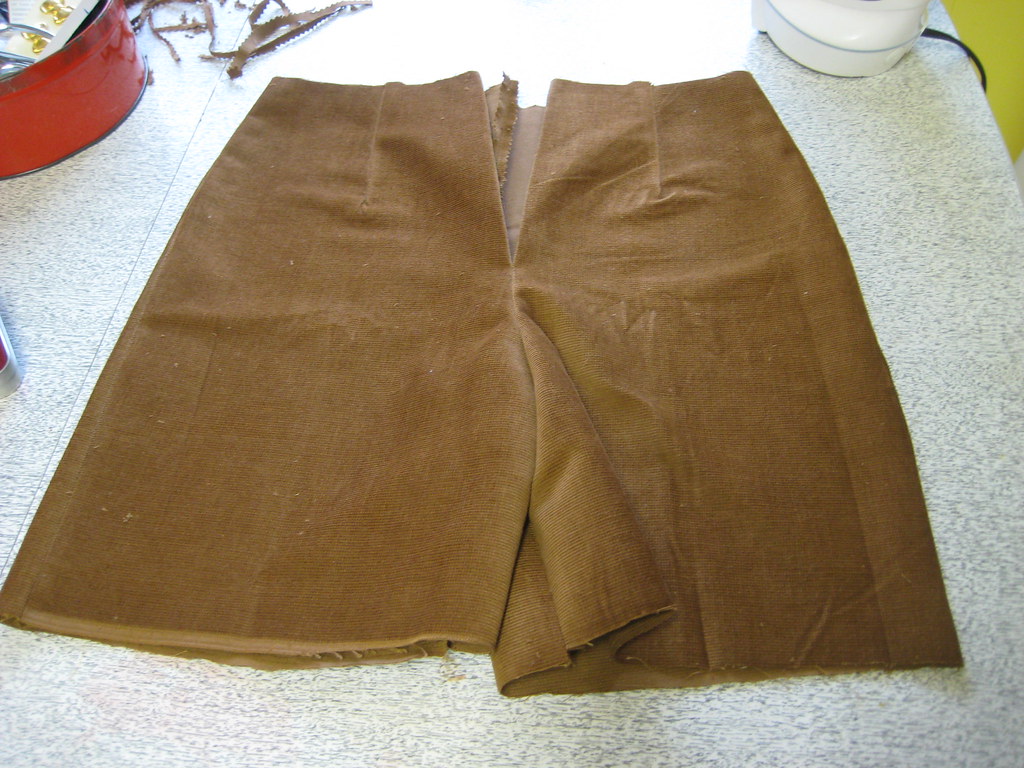
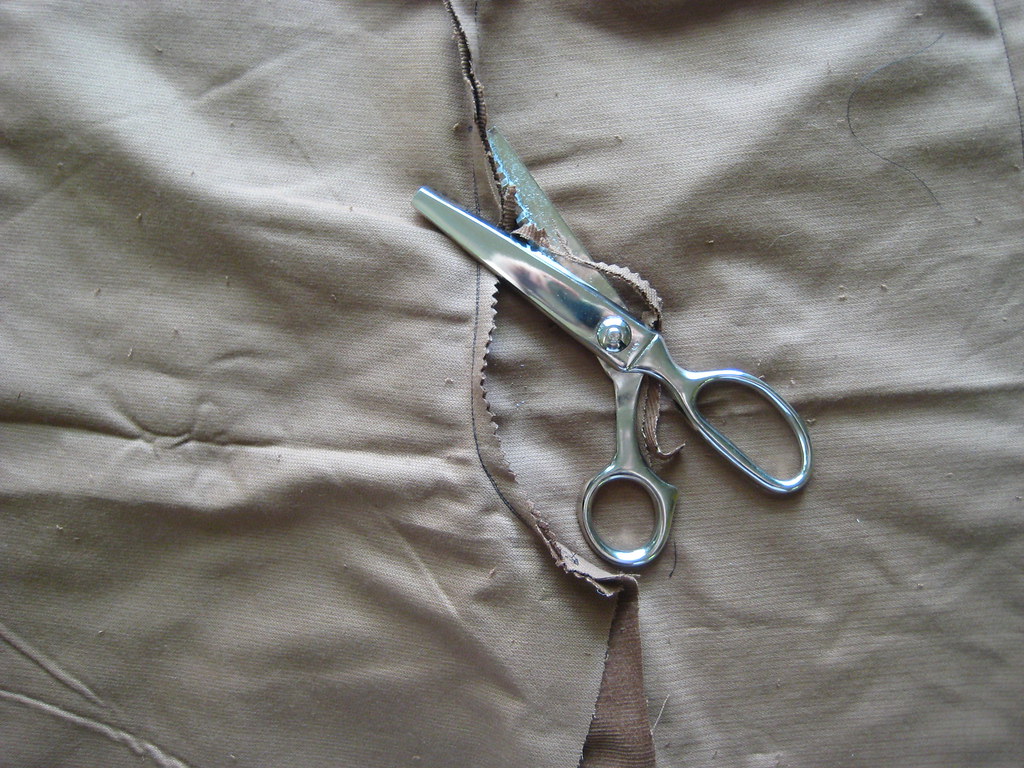
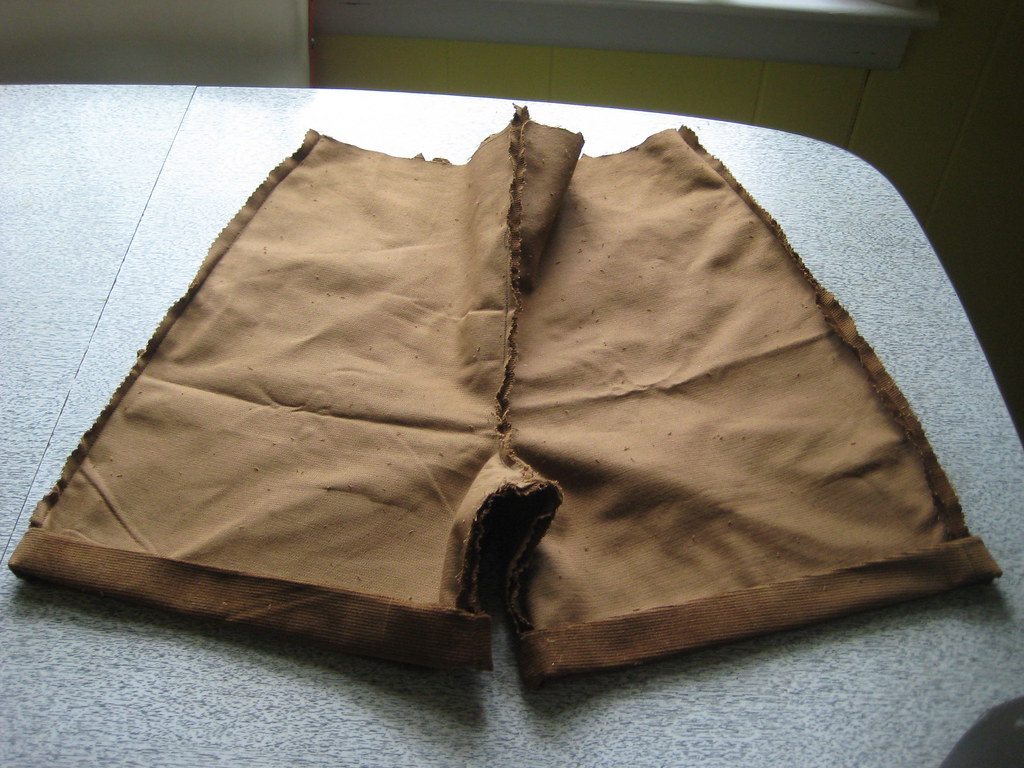
Once that step was finished, the bib was pretty much done. I then had to move onto constructing the shorts. I did the usual steps - sewing the front and back pieces together at the center seam (leaving room for a short zipper in the back), sewing the front to back pieces together at the side seams, then sewing the legs together at the crotch. I cut all of the inside seam excess with my pinking shears and pressed them flat.
I also sewed darts at the waistline in the back.
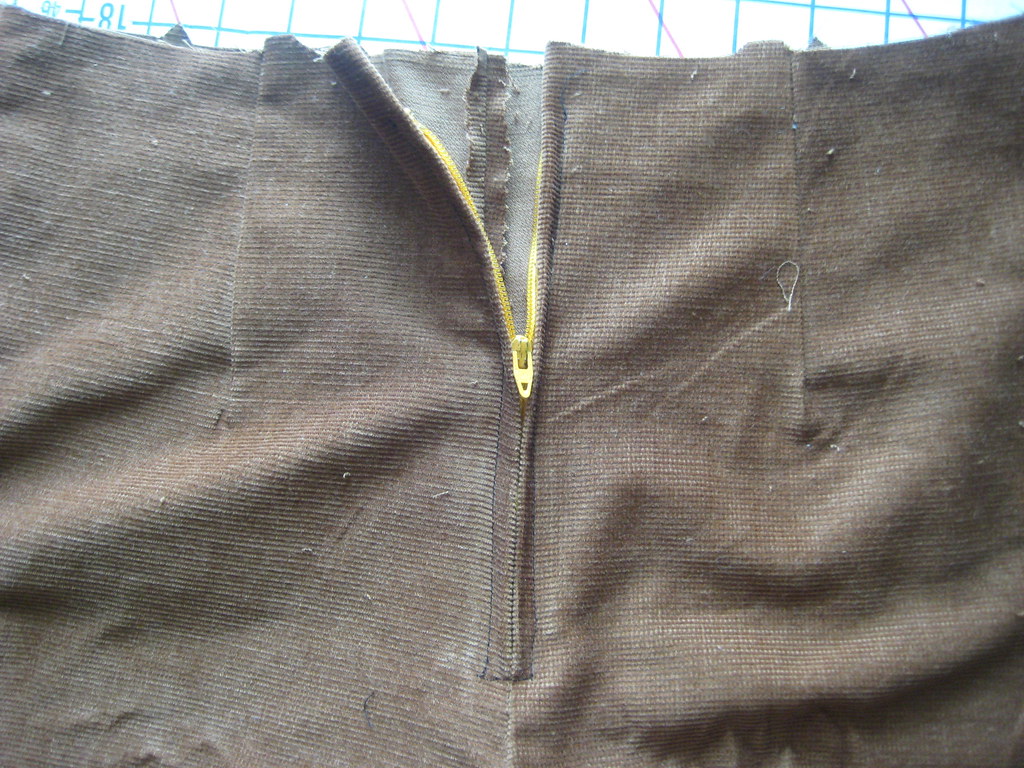
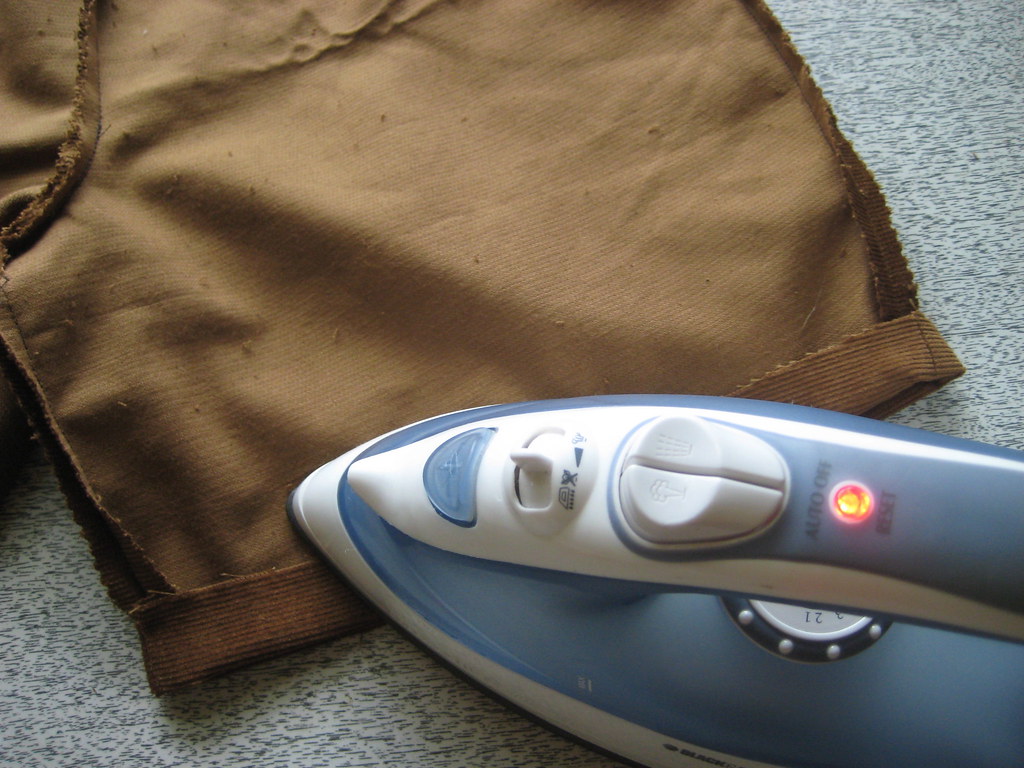
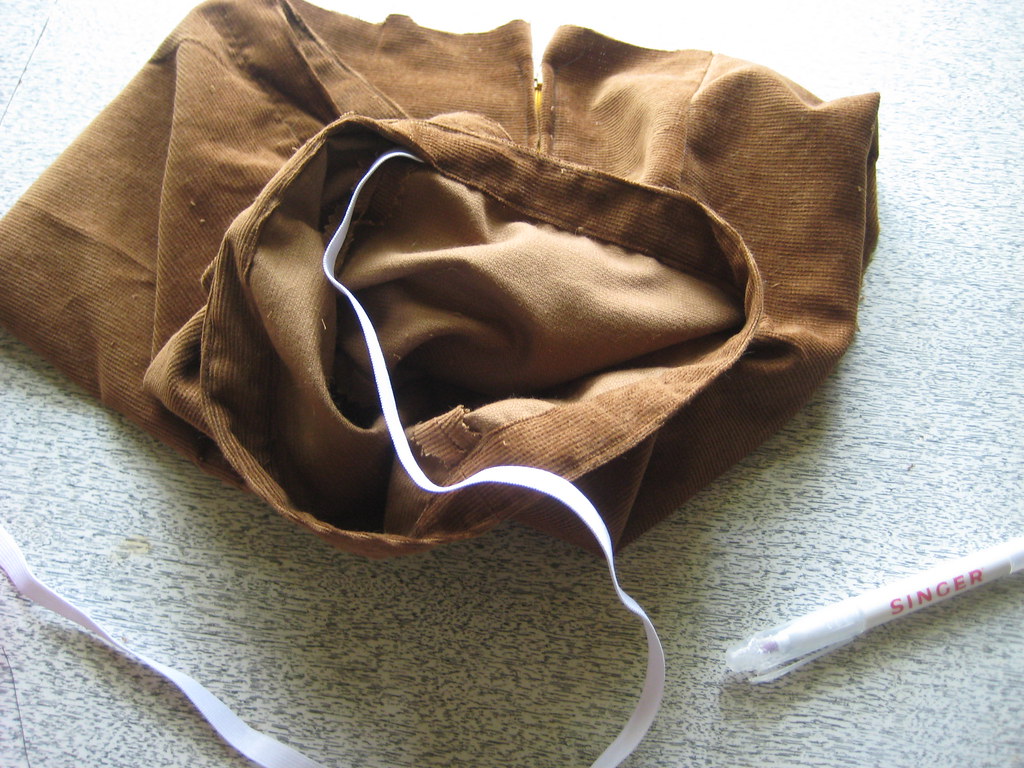
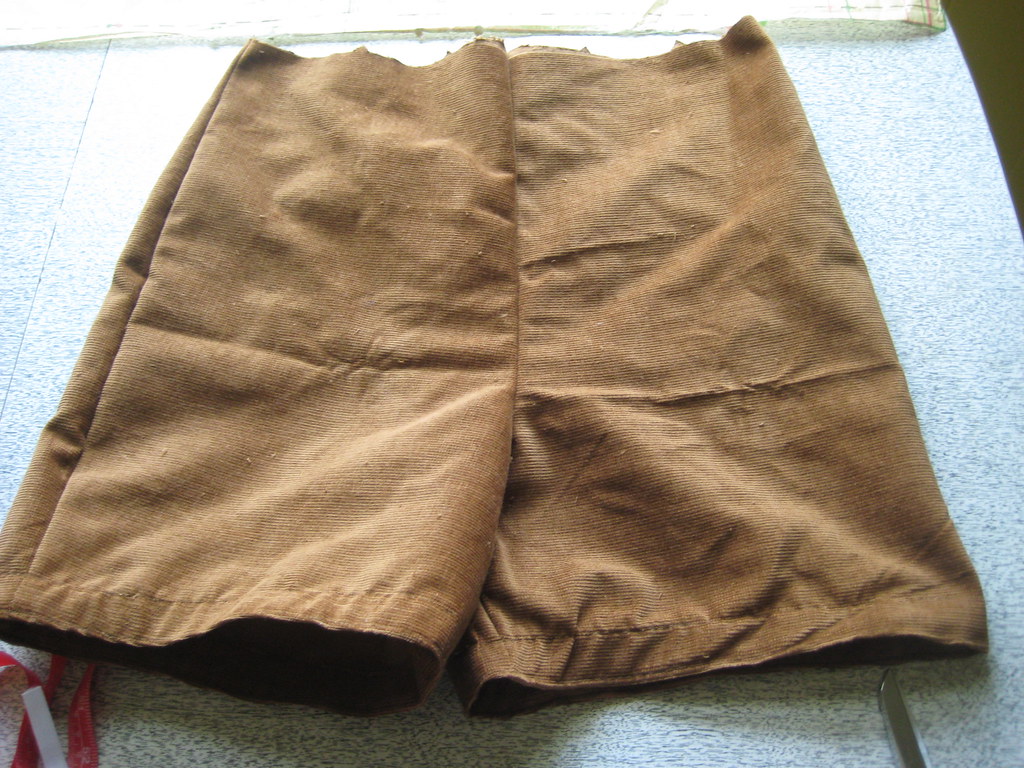
Once the shorts were put together, I sewed the zipper into the back at the waistline. I then pressed one inch of the leg ends upward to the inside, then folded them up another inch to form a casing for elastic. I sewed the shorts at the top and bottom of the casing, leaving an opening for the elastic to go through. I cut two strips of 5/8 inch elastic, measuring them so they'd fit my thighs comfortably. Then, I slipped the elastic in using my new favorite safety pin method.
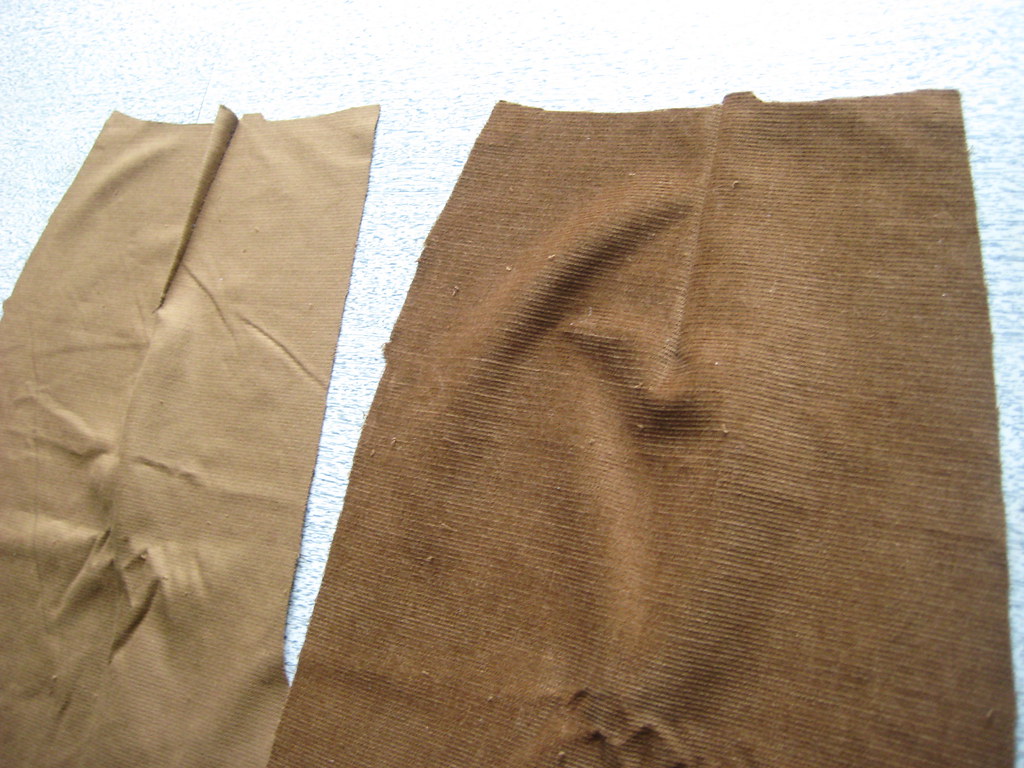
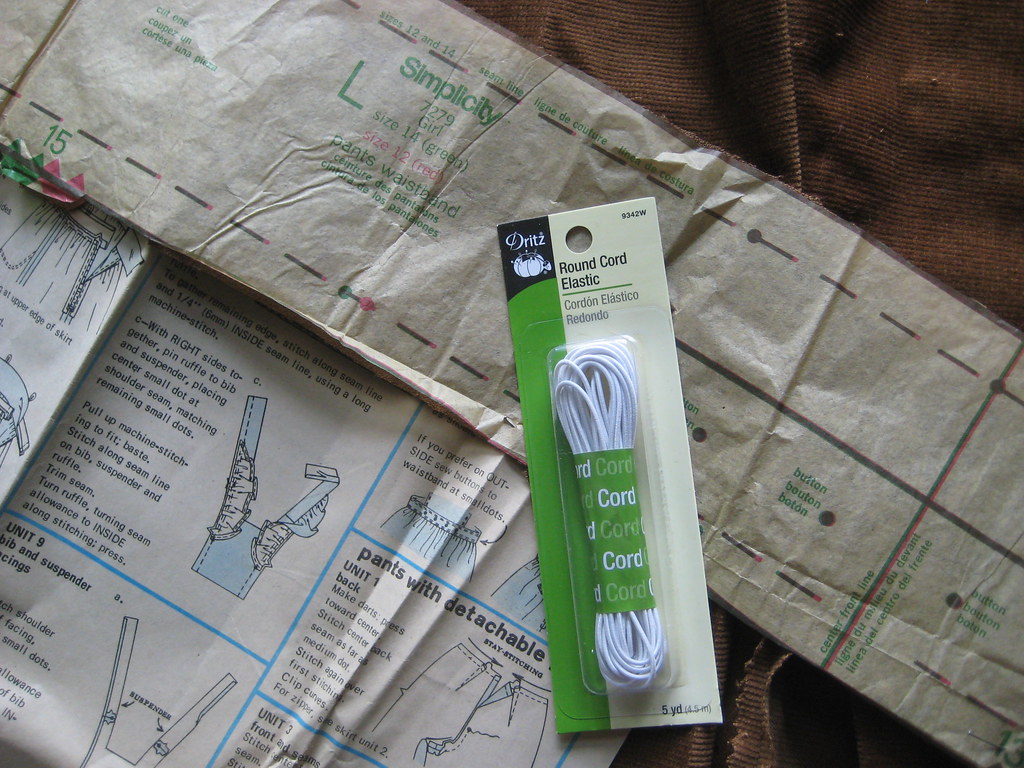
Once the elastic had been sewn in and the casing finished, I moved onto the waistband. When making these overalls, I made a big mistake.. I found out that I didn't have quite enough fabric for the entire project. I had to make do by squishing some of the pattern pieces together, which resulted in a mismatched nap waistband. Also, I had to sew two pieces of corduroy together to make the waist band. My friend Lauren warned me about keeping the pattern pieces pinned the way the instructions tell you to, even if placing them another way will save you fabric. Well, I learned my lesson. The waistband doesn't look terrible, but it could have looked better if I had just bought some extra corduroy to make it properly.
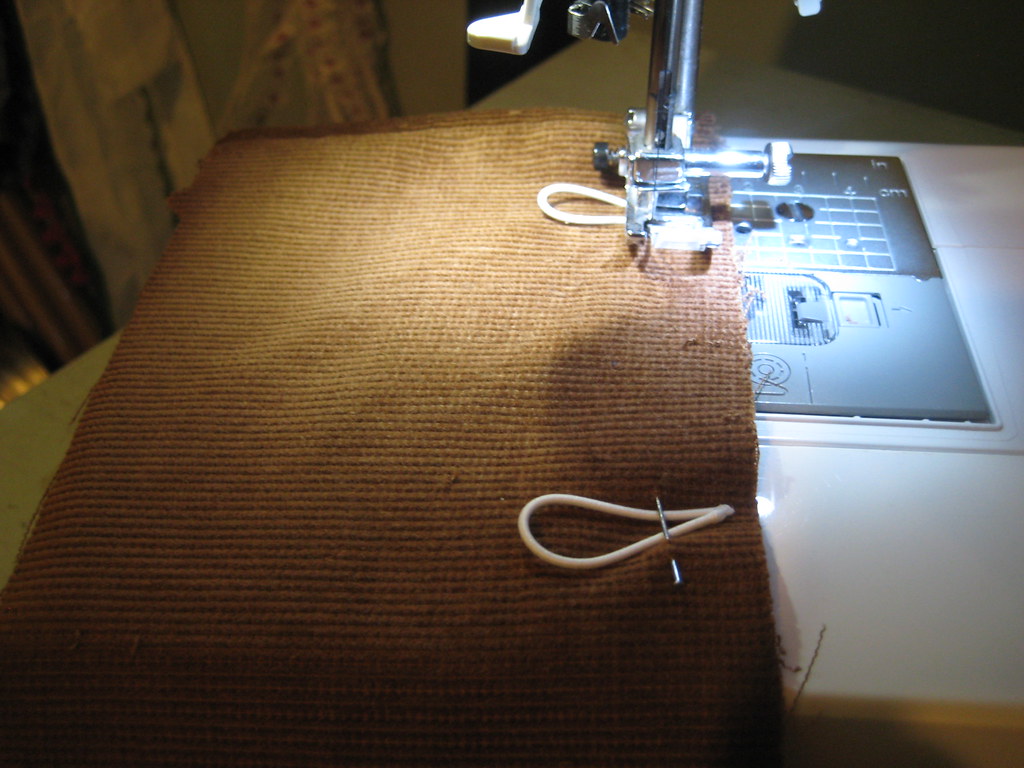
That being said, once the waistband had been constructed, I sewed thin elastic cord to the front of the waistband. They were pieces about two and a half inches long, intended to make 5/8 inch loops. I pinned them to their proper places on the band and then sewed them on, being careful to remove the pins before sewing.
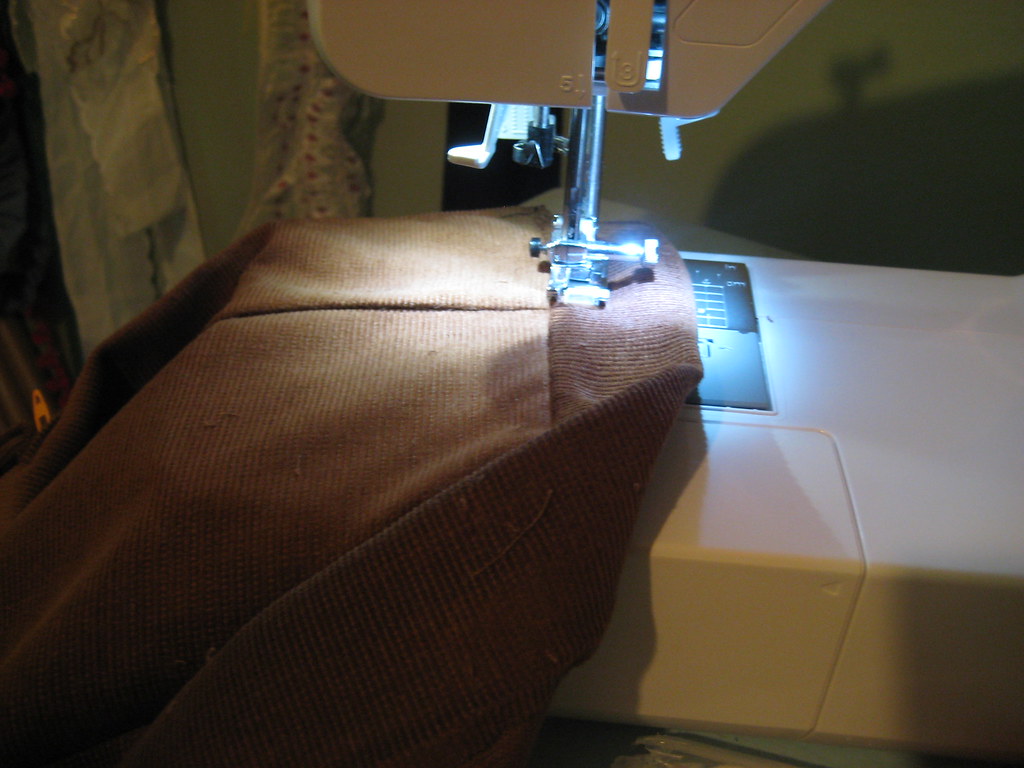
I folded the top of the waistband over by 5/8 inch, pressed it, trimmed it, sewed it to the top of the shorts, then folded the band in half and pressed it again. Then, I sewed the band, folded hot dog style, over itself, sewing near the original seam at the waist of the shorts.


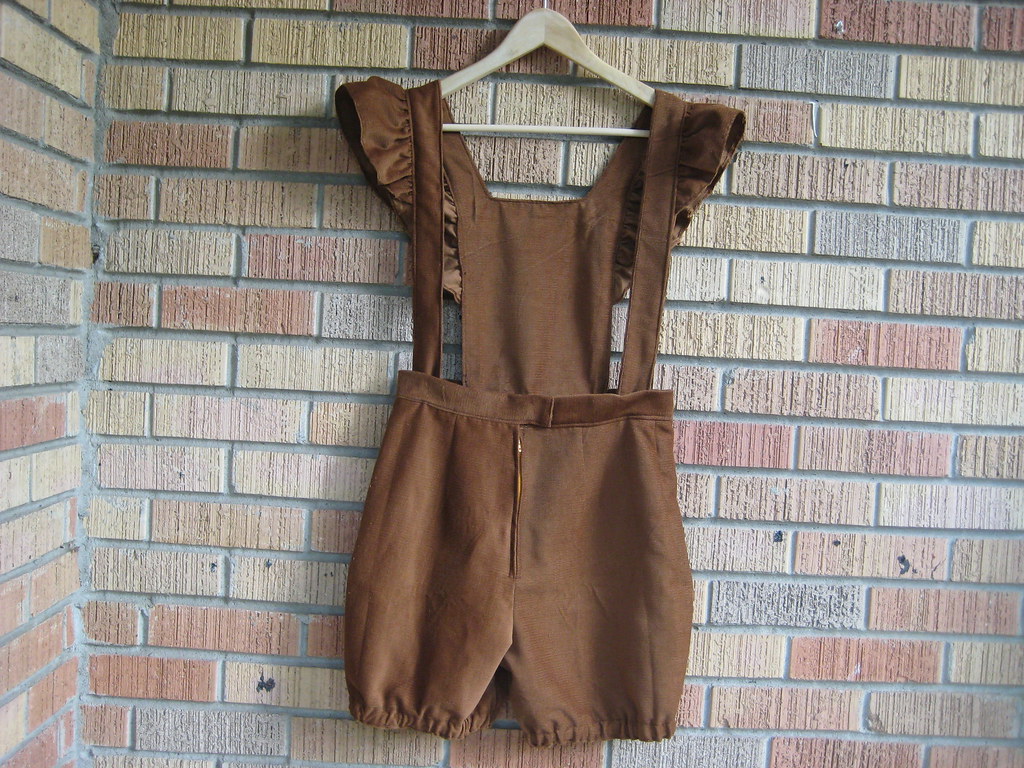
I had some overlap in the back, which was intentional. I sewed a hook and eye enclosure to the overlap above the zipper. Then, I sewed buttons onto the suspenders and bottom of the ruffle bib.

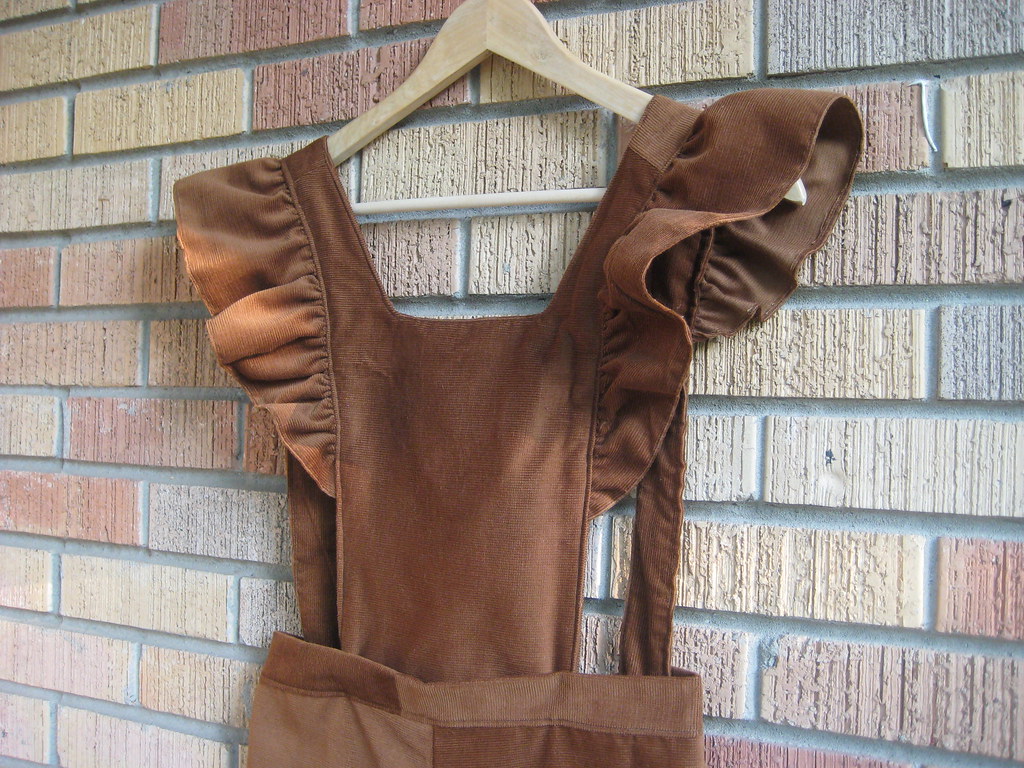
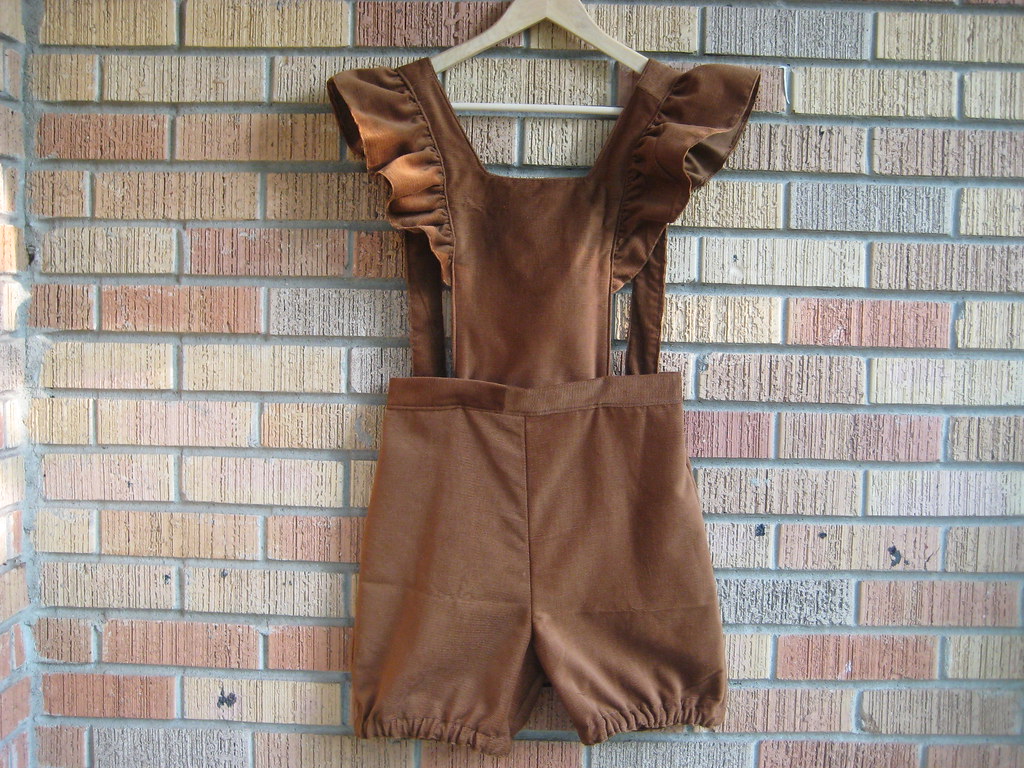
That's all! And here is the corduroy onesie.
The waist doesn't actually fit me. It's a bit too boxy, so I'm going to slip elastic into the waistband and hopefully that'll solve the problem.
It feels good to have these overalls finished, maybe because with all of this recent busyness, it felt like I'd never have time to get them done. Now that they are finished, I can move onto my next project.. which is all lined up. I'll be making this dress out of a very special fabric. More soon!
0 comments:
Post a Comment